
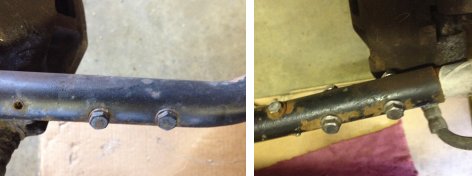
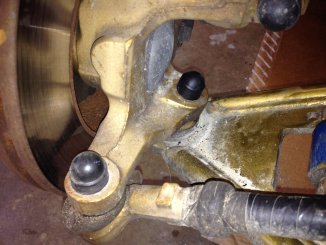
1. One of the wing mountings was loose and only stayed tight with the wing actually mounted and taking the strain.
2. The wings were mounted using ordinary bolts and nuts and I had already lost a couple through vibration. The bolts needed to be replaced with Nyloc nuts.
3. I needed to label the indicator wires so it wasn't trial and error whenever I removed and replaced the nose cone.
4. The wing mountings were beginning to rust so needed painting.
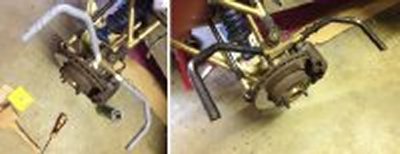
5. The wishbones also needed touching up.
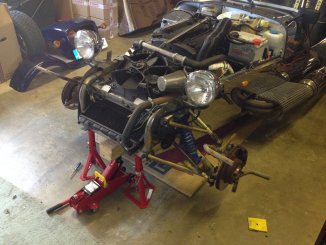
6. The nose cone was only held by one bolt at the bottom as it was almost impossible to insert the second bolt due to the proximity of the radiator.
This gave me access to the radiator and hoses, and it seemed to me as though the lower radiator hose did not have any water in whereas it should be full. So I actually disconnected the hose at the top of the radiator and filled the cooling system from there (rather than through the expansion bottle) while squeezing the hose to try and expel any air. She took about 3 litres of more water, so it will be interesting to see the effect.
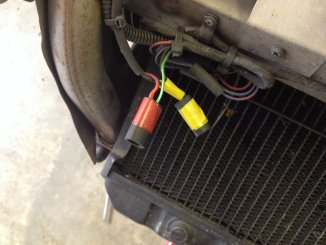
Now I know which wire goes where.
Now the primary task of replacing the nearside wing. As previously covered, the new ones were about 2" shorter than the original ones so a separate mounting plate had to be used, and an extra long mud flap. So I made an exact copy of the offside wing, mudflap and mounting bracket. Then put both wings on the car using nyloc nuts throughout. Finally put the wheels back on.
So following a final check of all the nuts, particularly the wheel nuts, the nose cone was replaced and we are good to go.
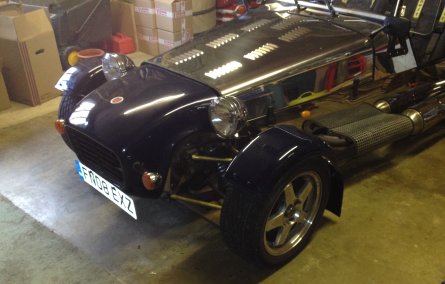
She looks lovely and clean and smart, with at long last a matching pair of front cycle wings.
No comments:
Post a Comment