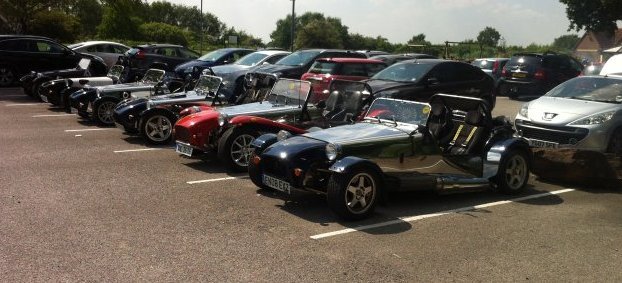
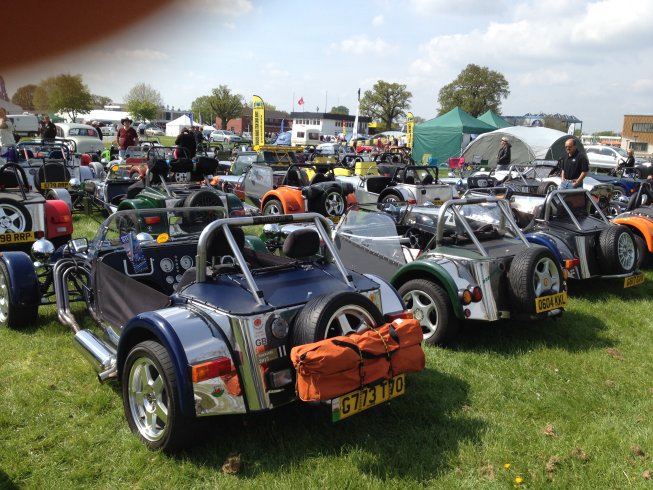
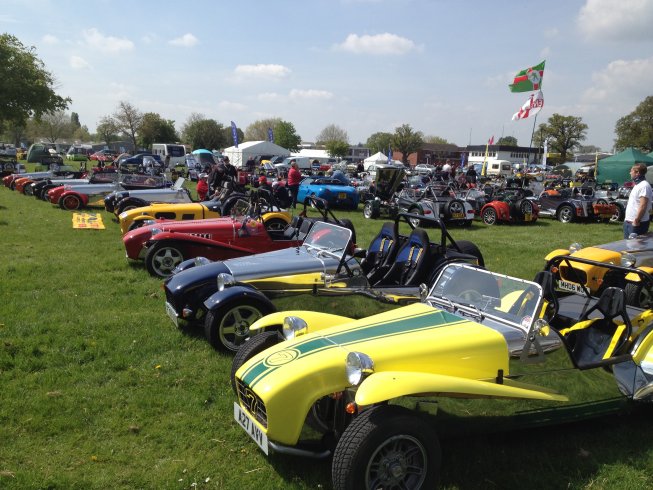
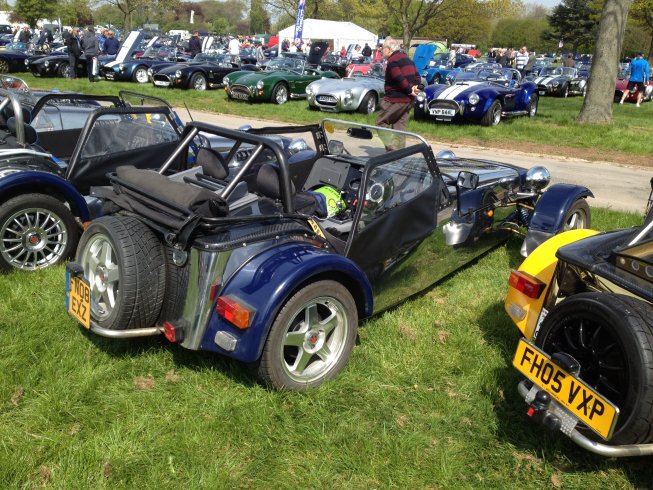
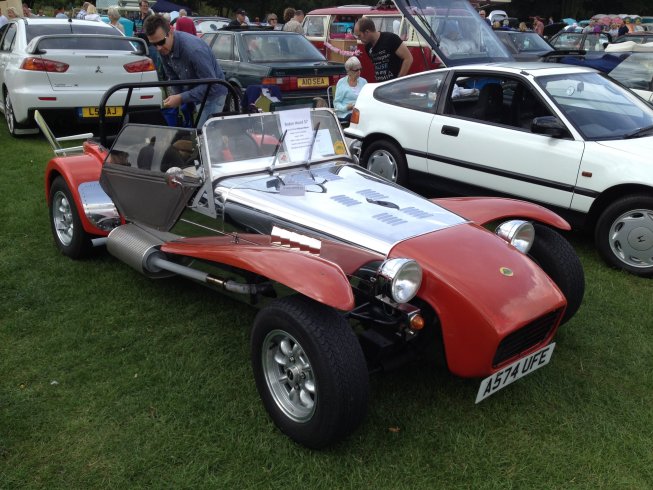
Although I had only been back in the country for only 36 hours I decided to take the car to the Stamford Car Show, which is one of the biggest shows around where I live. Two other members of the Robin Hood Club also came. Their cars were beautifully turned out, making mine look decidedly scruffy.
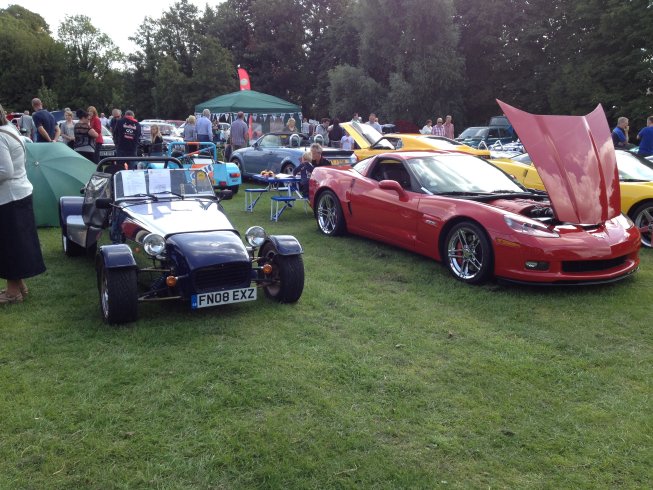
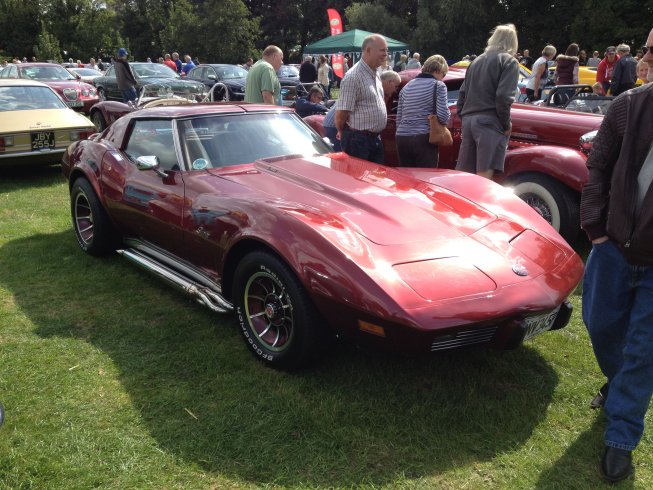
In my defence it has been a very busy 36 hours so I hadn't had a chance to smarten her up. What made it worse was that I was placed between an immaculate Corvette
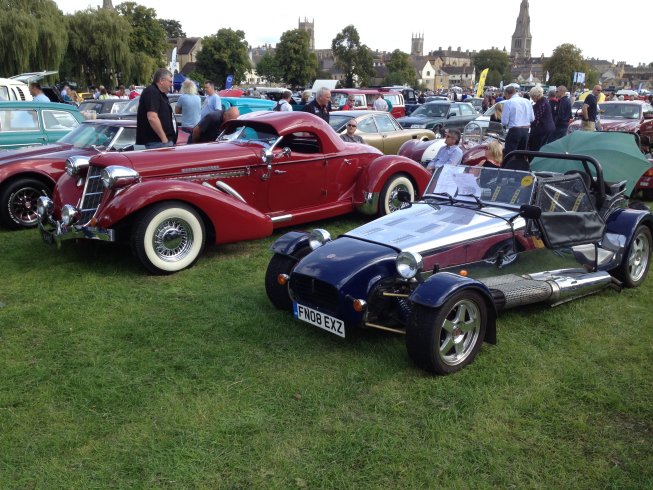
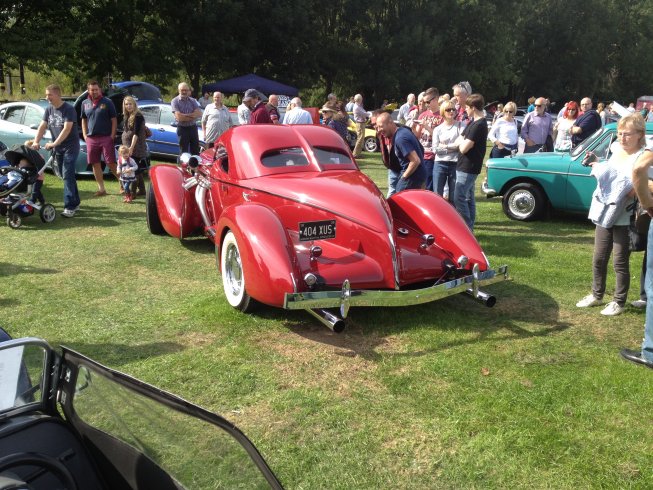
and an equally immaculate 1936 Auburn Boat Tail Speeder. This was probably the most photographed of the 500+ cars at the Show so I suspect I will be in lots of people photos, but in the background.
Overall, apart from mine, this was my favourite car. A Stingray Corvette. According to the owner it handles appallingly and is a pig to drive, but who cares :-)
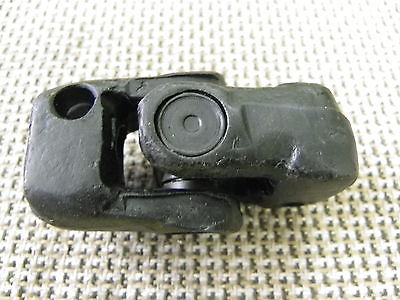
While I was away on holiday I left the car with a local classic car enthusiast to do some repairs and get the car through the MOT. He replaced the rear bushes and fixed the steering UV joint and had to replace a rear wheel bearing that was grumbling. And she passed the MOT so all my concerns about the emissions were unwarranted. And he thinks he may have fixed the sump oil leak with some judicious welding.
Now I just need to get back off holiday to start driving her again.
Off on summer holiday now so Blog will go quiet till late August.
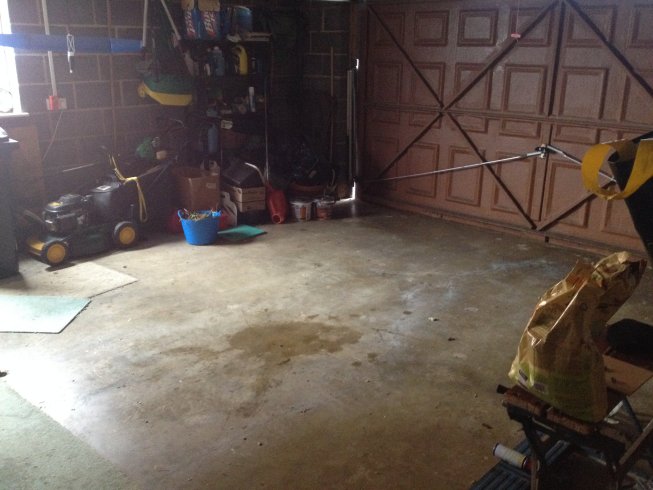
Car in for rear bushes to be replaced and steering UV joint fixed and then MOT. Feels most odd going into the garage and she isn't there, just a great big hole.
He is also going to fix the leaking sump so hopefully the patch in the middle of the floor will be no more.
Just have to be patient. Luckily it is raining so wouldn't be out anyway.
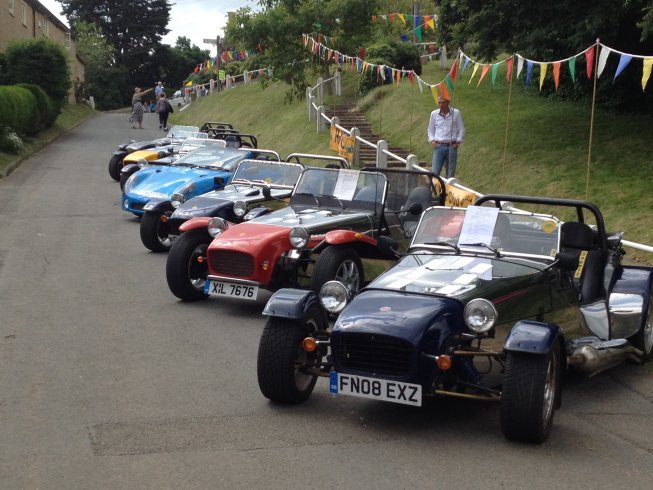
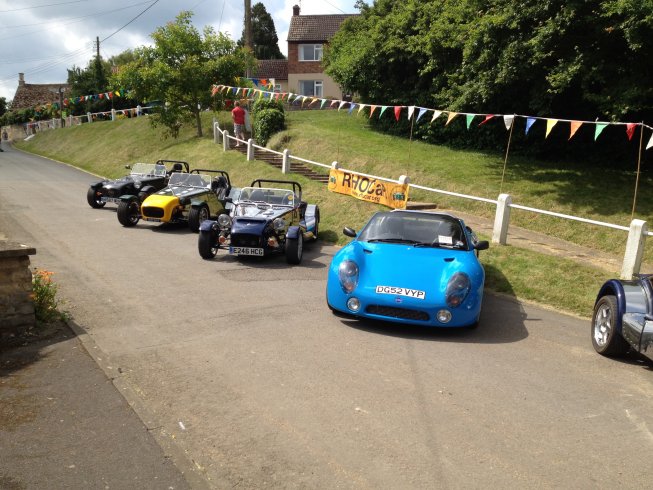
I decided that the June meeting of the Lincolnshire chapter of the Club would be local and we arranged for the lads to attend the Castle Bytham annual Midsummer Fair (http://www.midsummerfair.co.uk/), Street Market, Dog Show, Music, Beer/BBQ tent, Morris Dancers, American Civil War reenactment, Duck Race, Battle of Britain flypast...... Everything that you expect from a small English village fair.
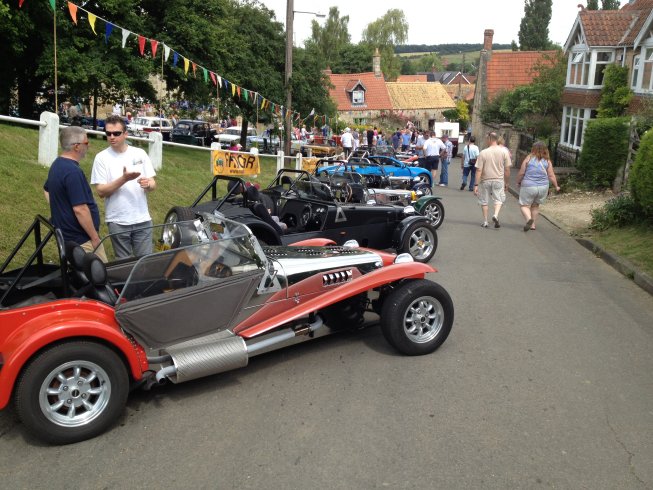
Great day, perfect weather (again) and we got 8 cars on the display. As usual, very popular with the visitors, especially the Dads and the young boys.
I was lucky it was only 3 miles as the steering is now very dodgy and definitely not up to a long journey.
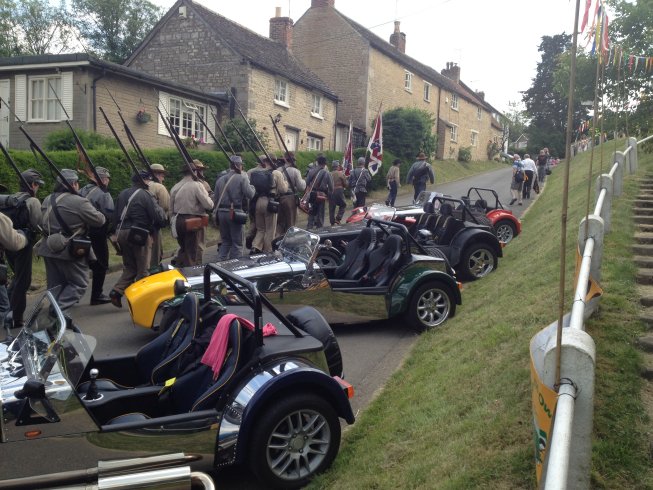 I even managed to get good weather for the third meeting in a row, Great day all around.
And we even had a march past from the Civil War team.
I even managed to get good weather for the third meeting in a row, Great day all around.
And we even had a march past from the Civil War team.
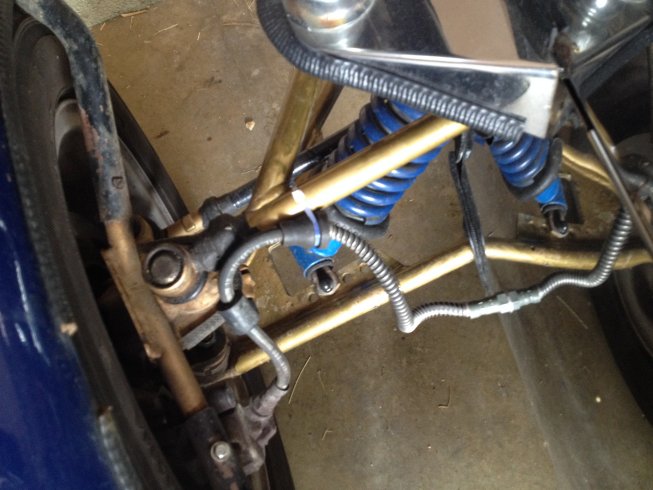
Having had no major problems in the first year it was inevitable something would happen. After a 90+ mile run with apparently no problems I woke up this morning to find that the steering wheel has lots of play in it, I can turn it +/-10 degs with no sign of movement in the wheels. My suspicion is that something has broken in the steering box as the spindle is turning but the rack is not moving.
Time to take it off and have a look.
When I first bought the car it had a very solid rear view mirror stuck to the top of the windscreen. Once I had got used to the fact that a car that looked as though it was 100yds back was actually 10 yds behind me, it was fine. Unfortunately one day it disappeared. I have no idea what happened, I never found it.
So I went through a few stick on ones, but the windscreen vibrates quite a lot and they all fell off. I eventually used super glue and managed to get one to stick but the vibration meant that the image was very blurred. I could tell if someone was behind me but not what it was.
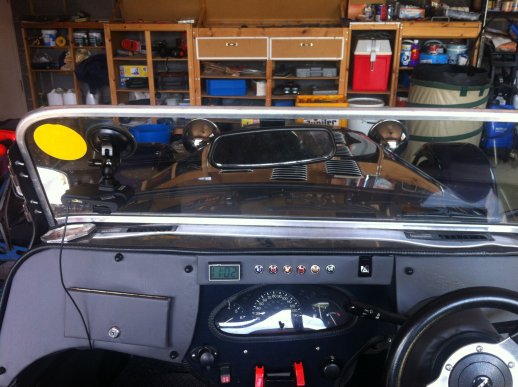
I checked to see what other owners had done and most of them used mirrors mounted on the scuttle, so I have gone that way. Nice mirror, very stable and although the view is not so good (the folded hood gets in the way) it is a great improvement.
Note in the top left corner I have fitted a GoPro camera. The first attempt at a video is here
After all the work I had done on the Cooling System (See previous posts), I was 95% satisfied. The only minor point was that she was running a bit hotter than I would have liked (Needle below the red but on the 'a' of 'Normal'.
After a chat about it with another owner (Kerry) he pointed out that because of the basic design of the front that a high percentage of the air coming through the grille was going around the radiator rather than through it.
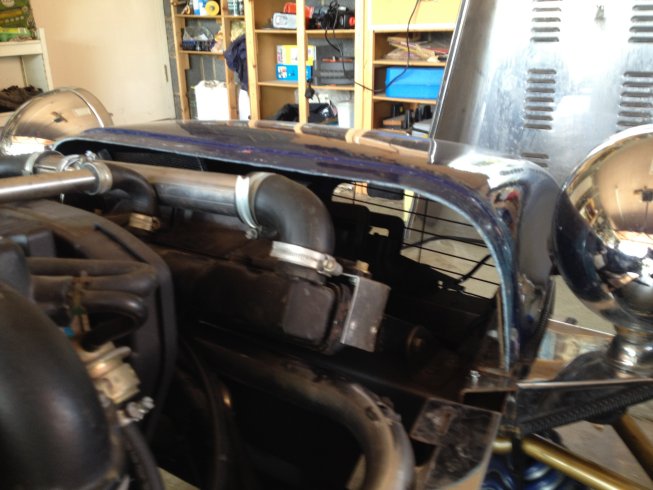
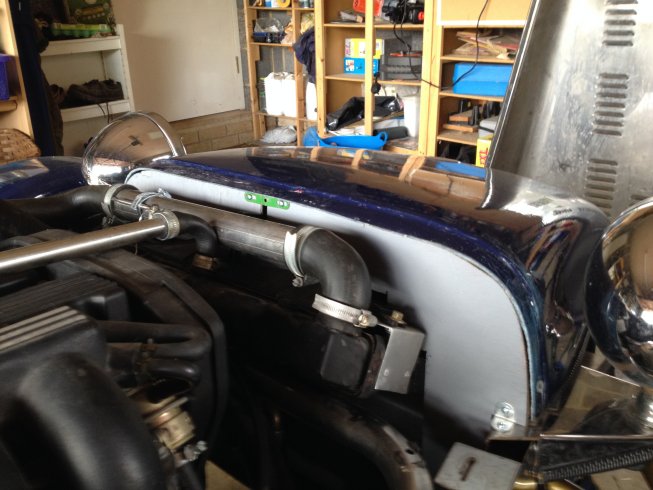
His suggested solution was to 'block' of the back of the nosecone to force the air through the radiator. No sooner said than done.
This blocks off 90% of the open area and should dramatically increase the air flow through the radiator. Made from plywood and held together and secured with Meccano !! (I knew that old set would come in useful sometime)
A quick 6 mile run showed that she does run appreciably cooler, with the needle between the 'r' and 'm' of 'Normal' now and fairly close to the ideal 12 o.clock position. I need to do a long run on a really hot day to really confirm it has improved the system but I am quietly confident. It certainly can't do any harm.
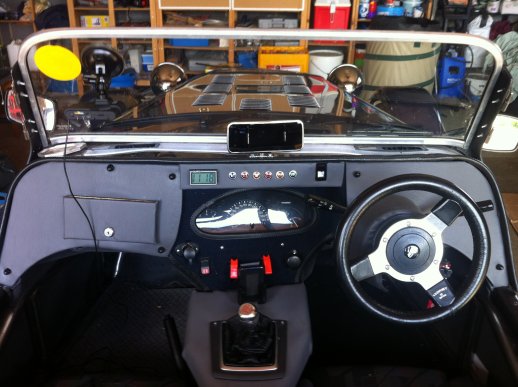
Added the next improvement to the dashboard.
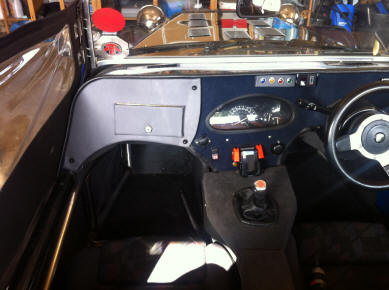
Before it looked like this:
At the top we had 4 warning lights: Indicators, Oil Pressure, Alternator Warning and Cooling Fan, and the hazard lights all mounted independently.
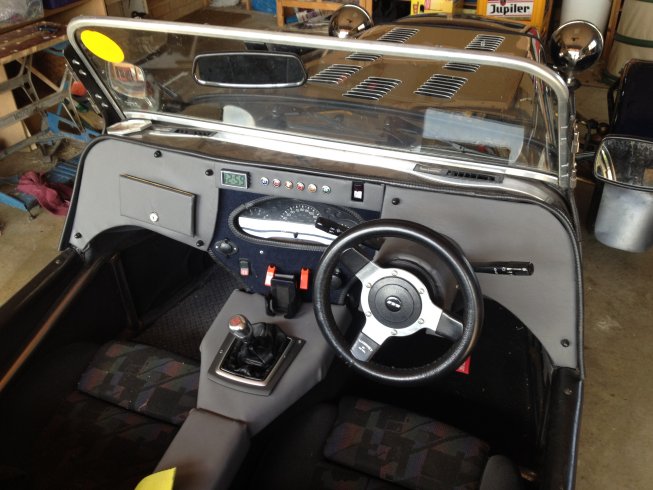
So I have combined them into a single removable panel and added two further warning lights : Full Beam and Handbrake Warning/Low brake fluid (Not wired in yet) and a clock.
Looks very smart.
Although the MOT is over a month away I decided it would be sensible to get her checked out. Took her in to a local chap who is a Classic Car mechanic and offers pre-MOT
checks. Very encouraging, with only one real problem. This was what he told me:
1. Indicators inoperable
This was a bit of a surprise as they had been working
when I delivered the car to him. Very quickly found the cause
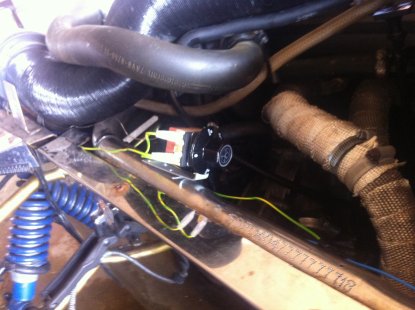
though, when I took the Flasher Unit out it was dripping with
water. It had been raining when I delivered the car and it then
sat in rain for a few hours. Obviously there is a leak in the
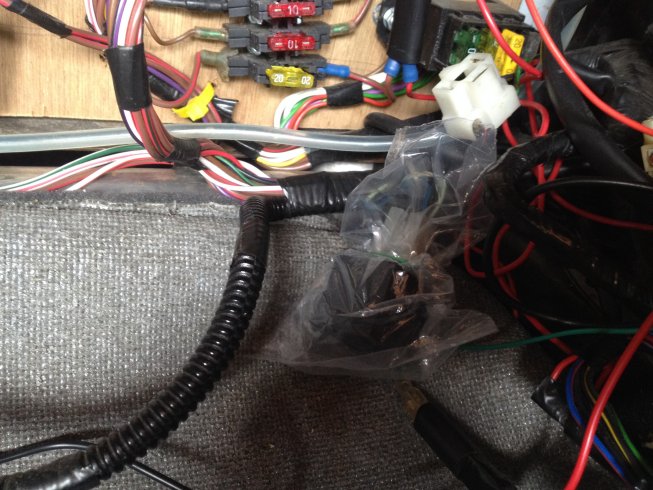
scuttle just above the flasher relay. Sod's law. I tried drying
it out on the radiator but that didn't help, but then half way
round the run I did this afternoon (separate e-mail) they suddenly
started working again, so obviously it just needed to dry out. I have put it inside a plastic bag for now although it is
unlikely to happen again.
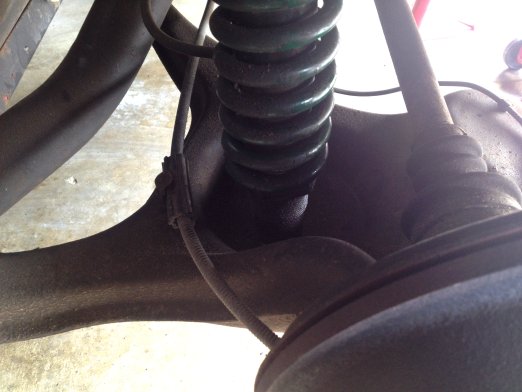
2. Front brake flexi hoses catch the suspension
He is right, they do sort of hang there and foul the
suspension on full lock. I decided a couple of cable
ties to secure them out of the way of the suspension would solve it.
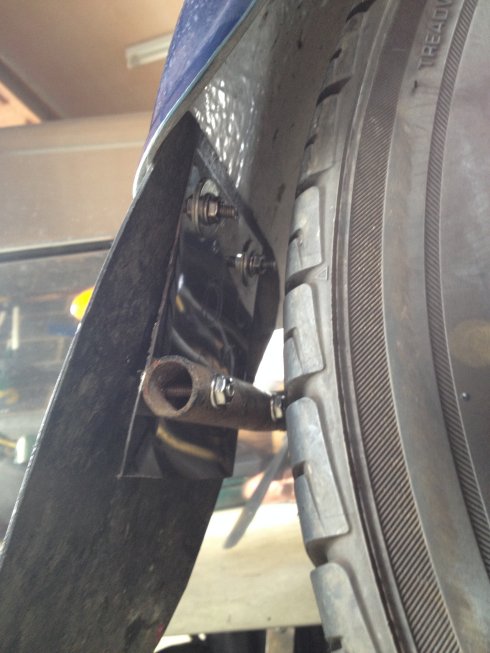
3. Front off-side wheel arch loose
This is my rubber mounted idea with the replacement cycle
wing. He said it wouldn't be a failure but just to be on the safe side have replaced the rubber mount with a steel mount for the purposes of the MOT.
4. Rear shock absorbers damp- clean off & monitor
I knew this would happen as I had been underneath and they
both appear to be leaking a bit. But he says they are fine at the
moment and something to just bear in mind. I have a long term
plan to replace all the shock absorbers anyway with some decent
ones.
5. Play in off-side and near-side rear swinging arm bushes
This is the biggie. He showed me how the bushes are worn and
the trailing arms are twisting independently. At the moment they
are marginal and he said if only one side was like that it would
just be an advisory. But with both worn he wasn't confident it
would pass. So we discussed it and agreed it made sense to
replace them as they would need doing before the next MOT anyway.
6. Wipers marking the windscreen
Fixed by a bit of judicious bending
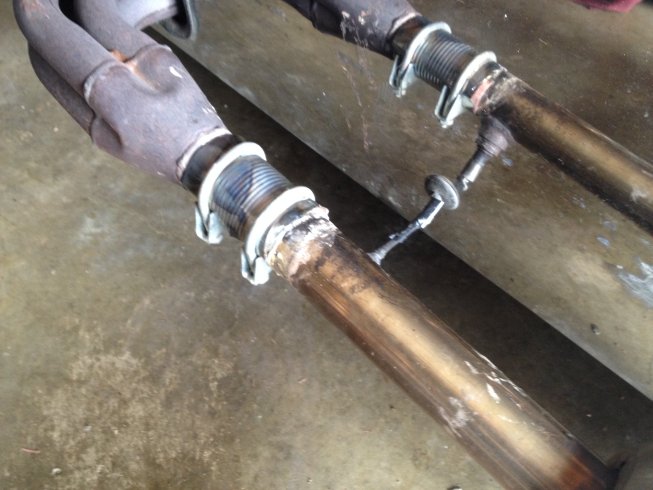
7. Exhaust blowing- this needs sorting before an emissions
test can be carried out.
She started blowing again a few days ago so I needed to fix
it. It was my fault anyway as when I fixed the original blow I
didn't surround the join with a decent bit of steel to support it.
So because it is only mounted at the engine and the back the
whole thing flexes and vibrates and has disturbed my fix.
So tried to make a stronger mount this time but I think it needs a piece of steel to be machined. So it was the same short-term fix as 6 months ago, but this time using a slightly stronger can (mushy peas as it happens).
He has ordered a set of bushes for the rear suspension, so I just need to drop the car off with him next month. And he has promised I can watch/help so I can better understand how the car is put together.
Very pleased there were no show stoppers.
After the success of the inaugural meeting it was time for another one. Although I had floated the idea of an evening at a pub in April, most people were busy and a few said they after a full day at work they just didn't fancy a long drive to a pub where they couldn't drink anyway. So the general consensus was that the family Sunday lunch was the way to go.
The only member who hadn't been able to attend the first meeting lived near Lincoln so I decided to use a pub very near him called the Woodcocks.
Once again a huge success, particularly with the weather as I again picked the hottest day of the year so far. Very nice pub, very efficient, good food and a lovely setup. We managed 25 people, including 10 cars that we managed to line up together in the car park. As usual, the centre of attraction :-)
Great day out. For me it was a 90 mile round journey, but I did it all on country back roads apart from an unavoidable short stretch on a couple of A roads. Car behaved impeccably.
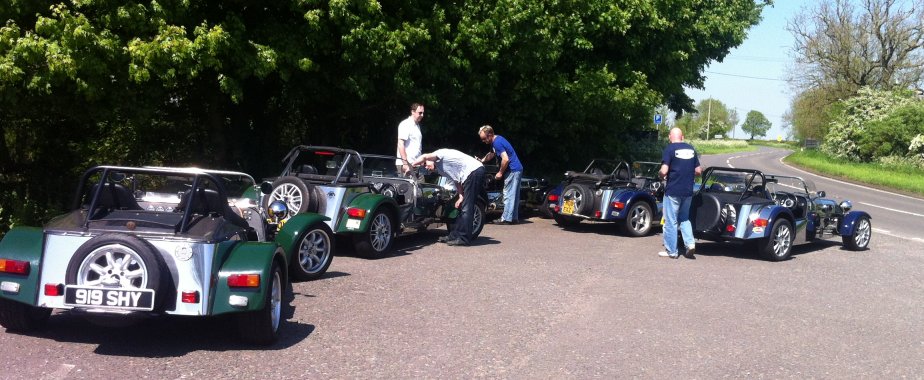
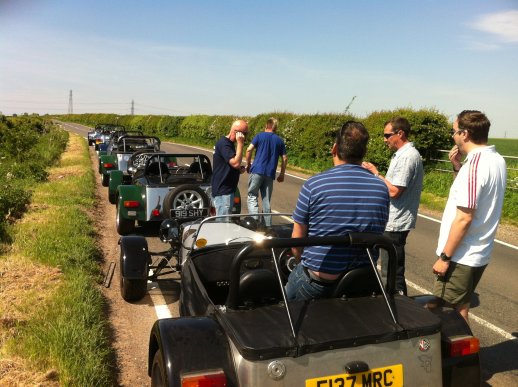
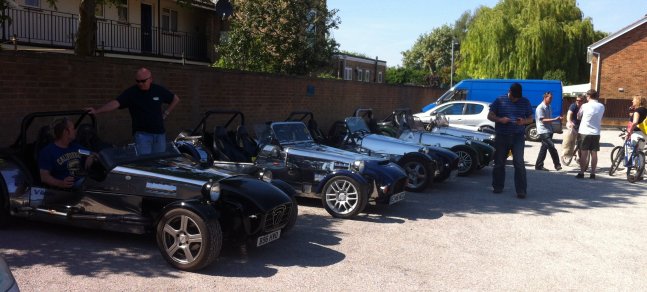
With a few days to go it was obvious that Saturday 17th May was going to be absolutely glorious, hottest day so far and perfectly clear. So the Leicester 'chapter' of the Robin Hood Club decided on a last minute run out and invited all along. The start point was only 45 mins from me so I couldn't resist. Joined up with 5 other cars for a 90 min run through the back roads of Leicester and Rutland, with the occasional rest stop.
Great fun, although it was about 5-10 mph outside my comfort zone and the front and back ends got very 'lively' on more than occasion. Also got airborne over one bridge and felt the sump guard 'kiss' the ground on touchdown.
And finishing up at a pub of course.
Came back on a shortcut which was simply a single line on the satnav. Got slightly concerned when I had to cross a cattle grid, but luckily road remained tarmaced and with enough room for one car with the occasional passing place.
Memorable day.
Having raised the front ride height about 1" to stop the sump grounding I felt that I ought to balance it out by raising the rear about the same. But having recently done a fair number of miles on the motorway system at speeds up to 70mph the handling seemed fine, so I have decided that this task is unnecessary and will be removed from the list.
Over the last week I have covered almost 200 miles and I was really pleased to see that the engine comes up to temperature very quickly, albeit slightly higher than I wanted (The needle sits on the 'A' of 'Normal' on the gauge) then stays there throughout the trips. Fairly extended waits at traffic lights have no effect and it was only 2 occasions, in traffic queues, that the temperature started to rise. On both occasions my new adjustable thermostat kicked in, started the fan, and the temperature quickly dropped back to normal.
So I am happy now that the previous expansion bottle cap was either weak or had failed and the new stronger one is better. And that the other problems were all caused by air locks in the system, which have now bubbled out.
One other thought is that we have previously been over filling the system, which has caused the excess water to overflow from the expansion bottle. Only time will tell.
So for now I think we have it fixed.
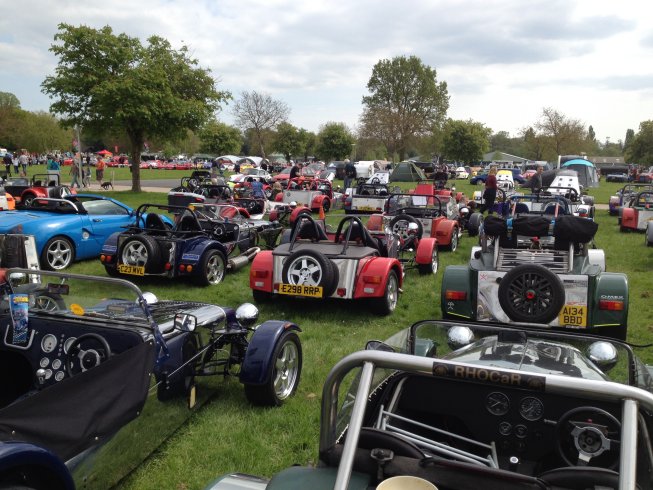
The Stoneleigh Kit Car Show marks the beginning of the season, when most people have put their cars back on the road after the winter (Not in my case of course). So this year I attended for the first time. It was huge, and I reckon there must have been well over 1000 cars on display, as well as 4 exhibition halls full of manufacturers stands and spare part and tool stalls.
Here are some shots of the Robin Hood stand where we had over 100 cars.
Including me
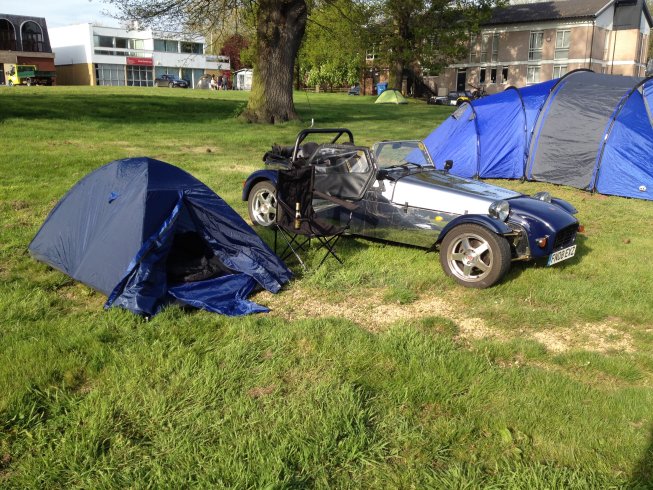
I also decided to stay overnight to take full advantage of the Show. So for the first time in nearly 45 years I spent the night under canvas.
Turned out to be surprisingly comfortable and I enjoyed it.
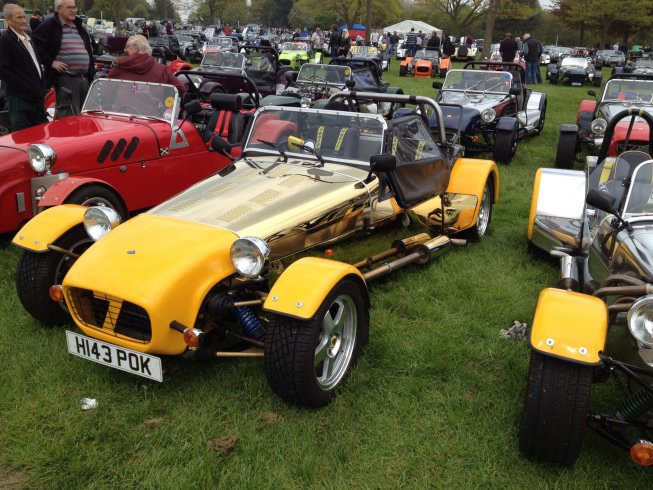
I particularly liked this car. A very rare example of the 'gold' Superspec, limited edition model.
Looking forward to next year already
Every year there is a 'Stilton Cheese' Classic Vehicle Run in Rutland. Up to 300 classic cars (and kit cars) drive a 39 mile route which retraces the original horse-drawn route along quiet country roads to deliver cheeses from Quenby Hall at Hungarton to the Bell Inn at Stilton in Cambridgeshire and all the villages in between.
This year, an extra sightseeing diversion was also added to take in Rockingham Castle and the Harringworth Viaduct.
Couldn't resist it so I went with 3 other RHOCar Club Members (and their wives) and we joined the other 300 Classic Cars for the run.
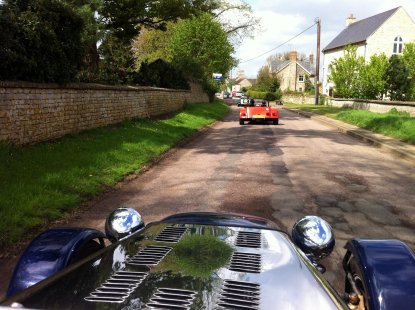 We travelled in convoy from the start to the mid-point at New Lodge Farm for coffee break.
Here is a video taken by one of the other cars (I was behind him). I MUST get myself one of those cameras.
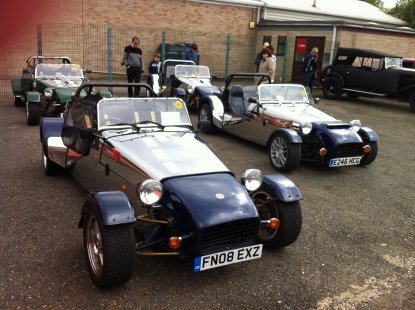
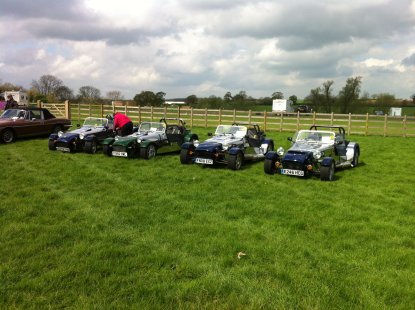
And all lined up together.
Then a final run to the Bell Inn for a late lunch. The weather held off beautifully with only a few drops of rain.
The car covered almost 100 miles in total and behaved impeccably. And she DIDN'T OVERHEAT :-) So it really looks as though I have sorted that out.
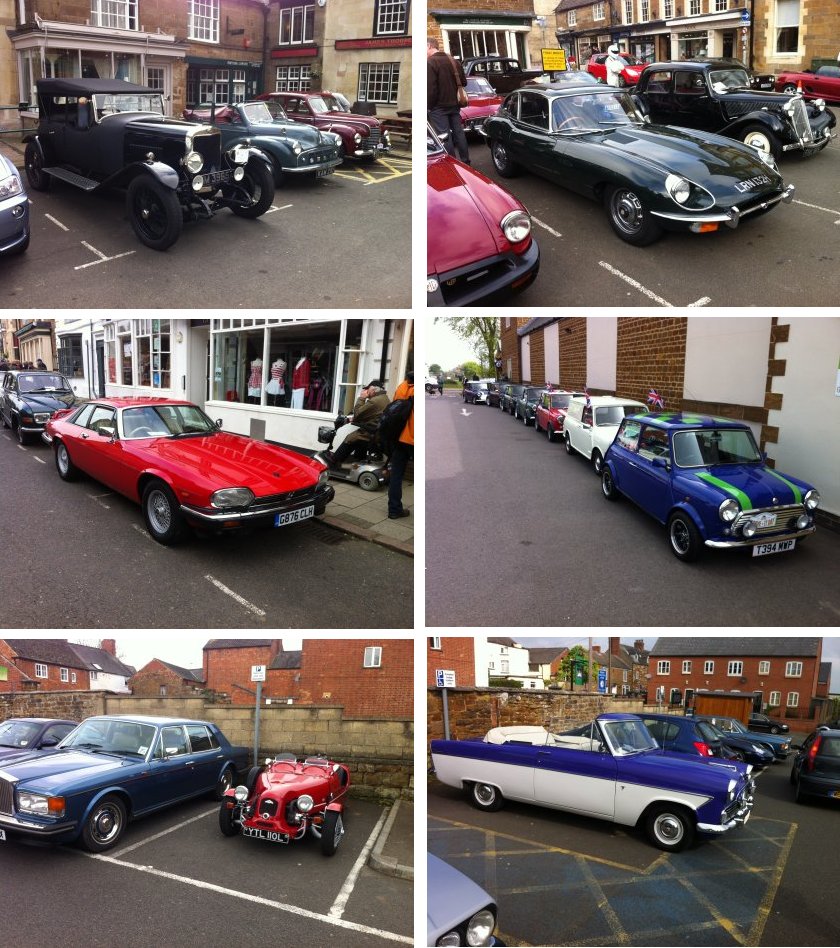
Here is a sample of a few other cars.
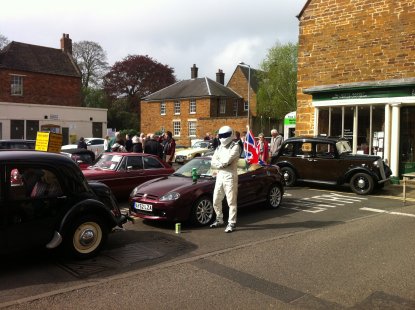
Even the 'Stig' turned up.
So a great day out, good driving, good company and lovely to see all the other cars and chat with other 'petrol heads'. Roll on next year.
I found out by reading the forum that the Constant Velocity (CV) joints at each end of the propshaft should be regularly greased to stop them failing. So that was the next step.
The rear one was very straightforward to access once the car was jacked up.
The front one was much more
difficult. Apparently some builders cut an inspection panel in the
bottom of the car to access it, but the previous owner had not done that.
So I had to take the top of the transmission tunnel and try and figure
out how to do it from on the top.
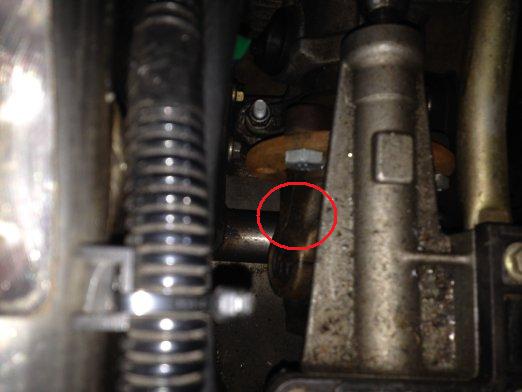
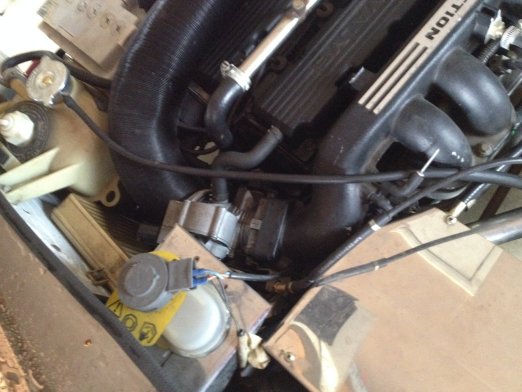
If you can see the grease nipple from this photo then I'm impressed. It was very difficult to access but by moving part of the wiring loom I was just able to get the grease gun positioned on the nipple.
Fixed for another year.
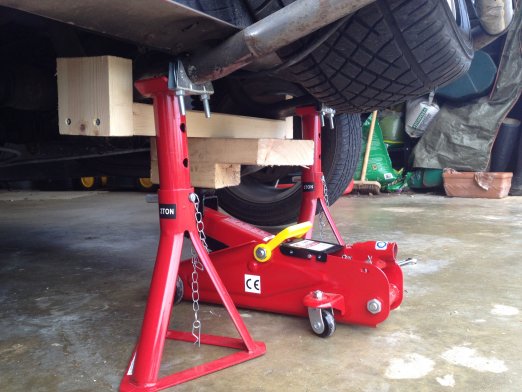
As you would expect, the car doesn't have dedicated jacking points, it's just a case of picking some part of the chassis and using that. Unfortunately,the chassis is made from circular stainless steel pipes, so any time you put the jack underneath you run the risk of the car sliding of the jack.
It goes without saying that I don't undertake any work on the car without using axle stands or wheel ramps, but after I had the car slide off the jack twice while lifting it up to put the axle stands in, I decided I needed to do something.
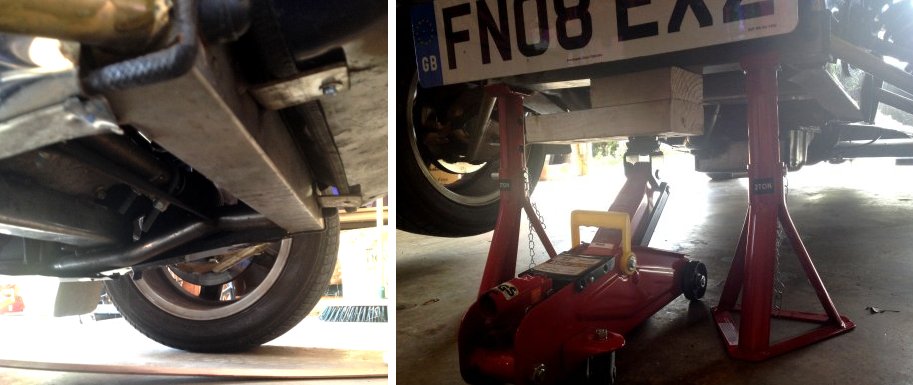
The front is fine, as there is a flat stainless steel cover on the front cross member so by putting a piece of 2"x4" on top of the jack I get a very stable platform to put the axle stands on.
You can see the block actually has 2 heights, one 2" thick and one 4" thick as I cannot put a fully extended axle stand underneath in one go. Using the 'single' 2" height I can put the axle stand underneath with the locking pin in the lower hole. Then using the 'double' 4" height part I can then move the locking pins in the axle stand to a higher hole. Also, with the handbrake on the car is very stable and unlikely to fall off the stands so that is the front sorted.
But the back is a totally different situation, there is nowhere logical to put the jack that isn't very risky, and having the handbrake on has no effect as the wheels are in the air.
Eventually I figured out I could use a similar system by jacking the centre of the car using the same wooden support.
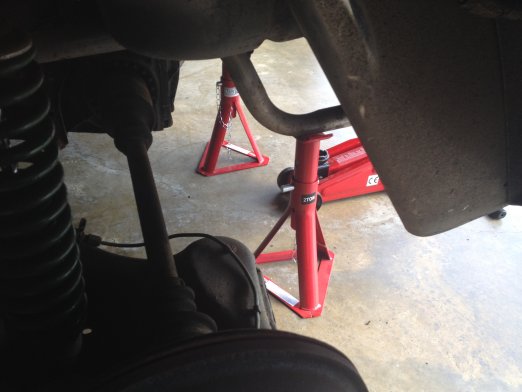
And then putting the axle stands onto the chassis.
Unfortunately it still looks a bit dodgy and I can see that the car might still roll off the axle stands.
So I decided to build another wooden support to make it perfectly safe.
So now we have the main jack on a 2"x4" with ends to stop it sliding sideways (and note the trusty single/double height 2"x4" tool as again it has to be raised in stages).
And then the axle stands on the chassis but to be extra careful I have permanently mounted a pair of exhaust brackets just behind the axle stand so the car cannot slide off. Ridiculously over-engineered of course, but I feel much happier when I am underneath the car.
I also decided to do a practice tyre change in the comfort of the garage rather than wait till when I have to do it for real.
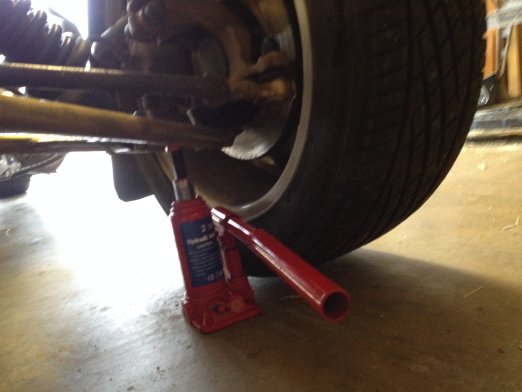
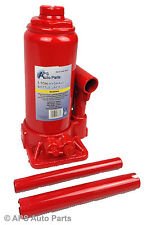
I had been carrying one of these bottle jacks around in the boot, but had never actually tested it.
The front is very easy as you can just jack up the lower wishbone.
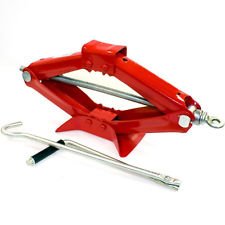
The back was again different as there is nowhere logical to put the jack. Just lifting the chassis does not get the wheel off the ground, and the gap below the trailing arms is too low to get the jack in. After getting some advice off the forum I decided there was no safe option and I would have to get myself a small scissor jack that would fit under the suspension unit.
So it was out with the bottle jack and in with the scissor jack.
Job done.
Still finding problems with the Cooling System. If you haven't been following the saga see these posts for the story so far. Cooling System (1) and Cooling System (2)
Went out for a long (40+ mile) run to check it out. As an aside, the weather turned while I was out so for the second time I had to put the top up.
Actually I was pleasantly surprised. I still had lots of headroom. The windscreen wipers worked well and even the windscreen demister worked as advertised. On the downside I still haven't figured out to elegantly get in and out of the car with the top up. But I don't think any other Robin Hood owners have figured it out either. The other problem was the hour it took to get the car cleaned up. However, from now on I won't let rain stop me from going out.
Anyway, during this trip I found the car overheating again and when I got back in the garage the 'kettle' was boiling again and after a few minutes there was quite a large puddle of water on the floor.
The location of the puddle made it almost certain that it was the expansion bottle overflowing. So after some thought I came up with:
(1) Maybe the expansion bottle radiator cap was faulty, or weak, thereby allowing the water to drain too early.
(2) I might have a leak somewhere underneath the expansion bottle.
(3) Maybe I was overfilling the system and it was simply venting the excess.
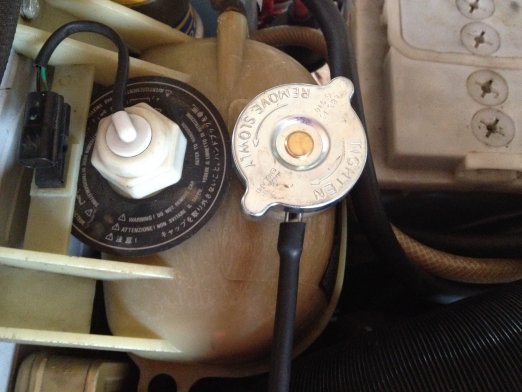 So for (1) it was back onto
E-Bay for a new cap, again this time I got one from a classic Mini. I
was also aware that you can get various pressure rated caps so I went
for a fairly high one (14psi).
For (2), I added an extension pipe to the overflow and moved it right across to the other side of the engine so I could tell if the water was actually a leak or a genuine overflow.
So for (1) it was back onto
E-Bay for a new cap, again this time I got one from a classic Mini. I
was also aware that you can get various pressure rated caps so I went
for a fairly high one (14psi).
For (2), I added an extension pipe to the overflow and moved it right across to the other side of the engine so I could tell if the water was actually a leak or a genuine overflow.
Then it was off for another run. Interestingly it very quickly reached a very high working temperature, although not in the red, and for the rest of the seemed to sit there in the same place. And reassuringly, when I was forced to stop at traffic lights the fan came on and it maintained the same position. So my new thermostat switch is working well.
Once back into the garage there was no sign of the 'kettle' boiling and there was only a small puddle of water, definitely under the overflow pipe and not from a leak. When I took the bonnet off the engine and water system were hot but nowhere near as hot as I expected.
So from that I deduce the radiator cap is now working, there is no leak and the system will now maintain temperature, although a bit higher than Normal (maybe the temperature gauge is overreading?). Also, now I know that it is the expansion bottle overflow that is generating the puddle, maybe I have been overfilling it.
I have a couple of long runs planned for the near future so will see how she behaves. No passengers so will have a couple of litres of water stored in the footwell just in case !!
Realised this morning that I had never actually checked the tyre pressures in the 9 months I have owned the car, as all the tyres looked 'normal'. But nothing is normal about this car, and that includes the tyre pressures. Unlike normal road cars that have tyre pressures around 28-32 psi, kit cars tend to have pressures of 19psi.
So I checked them at the local garage (today was such a glorious day I had to go for a run out) and they were:
Front Nearside: 19 psi (Good)
Front Offside: 13 psi (whoops)
Rear Nearside: 25 psi (A bit too high)
Rear Offside: 24 psi (Same)
So I dropped the rear tyres down to 19psi and topped up the Front Offside. Might be my imagination but seemed to handle a bit better and I didn't notice the squeal going around a left turn.
Better keep monitoring them from now on.
After raising the front ride height I felt that the steering was a bit light above 60mph so thought it would be an idea to raise the back about an inch as well. This would also help with the occasional grounding of the exhaust mounting.
It was the same method as I had used at the front (See earlier post here). Unfortunately, when I tried to turn the adjusting nut the whole of the shock absorber sleeve turned.
So I had to try and find some way of locking it in position.
I didn't have another wide enough spanner to grip the lower part, but also that might have damaged the thread. So I tried winding gardening wire around it and attaching the end to the rear axle, so that it tightened up as I turned the lock nut. Nice idea but it didn't work, it looks as though I need some steel wire.
So decided I needed to sleep on it. And the weather was absolutely glorious so I decided my time was better spent driving the car around and not getting dirty underneath it.
Status: Not completed
Time to look at the Cooling System. See this post for a description of the problem. With all the recent short journeys I found the engine just never warmed up and that is not good for her in the long term.
So first I fitted the thermostat. No problem, only 2 bolts and it came with a new gasket.
Then I mounted the new variable thermostat switch onto the chassis.
Not ideal, as I can only adjust it with the bonnet off, but I could not mount it any further away from the radiator.
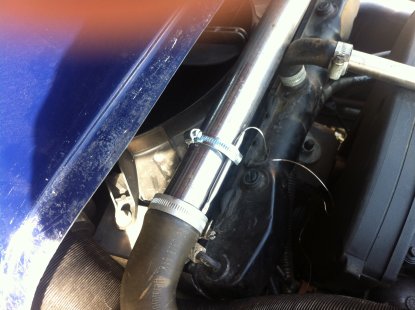
The instructions tell you to put the probe into the top hose, but I found that was much too tight a fit. So my first experiment was to mount it on the radiator down tube.
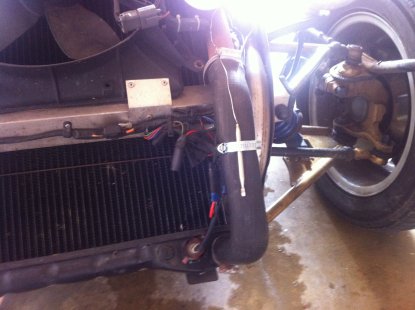 Singularly unsuccessful, the temperature did not register.
So the next step was to mount it actually on the top tube. The advantage of that is that I can play about with it without having to remove the nose cone.
Then came the problem of refilling the water. The design of the Superspec cooling system is very unusual and non-standard. There is no radiator cap on the radiator itself, but there is hose coming out from the top of the radiator with a tube leading across the top of the engine, and from there into the expansion bottle (see picture above). Unlike most expansion bottles though, this one is pressurised with a radiator cap. Half way along the top pipe is a bleed screw that needs to be undone to allow air to escape from the radiator while it is being filled.
So I refilled the system through the expansion bottle, until water came out of the top hose, being slightly surprised at how little it took before it was full (Hindsight is a wonderful thing). Then took the car out for the first run, minus nose code and bonnet so I could see what was going on. As I arrived at my front gate one of the neighbours walked past with his dog and stopped to chat. After about 2 minutes I noticed the engine was running quite hot and he then pointed out that water was pouring out underneath from the front of the engine. I checked the 3 connections that I had undone to work on the system (Bottom hose to drain it, thermostat housing and top hose to try and install the probe) and all were watertight so I had no idea where the water was coming from (and I never did find out).
So back into the garage to check it out. Couldn't find anything obvious, but checked the water level and managed to get another pint of water in so decided that was the problem. Took the car for a 3 mile drive and found it was up to temperature within about 400 yds and then gradually got hotter and hotter. As it entered the red I switched the fan on, but the temperature remained just under the red line. Once parked in the garage the car made a very peculiar whistling noise, eventually traced to the expansion bottle pretending to be a kettle and the water was boiling.
This is the point when you start thinking of the old saying "If it ain't broke don't fix it" and wishing you hadn't started.
However, as I have said before, the Robin Hood club forum is a fountain of knowledge so it was onto there to search for answers. Two things were immediately apparent:
1. Because of the unusual design it is very difficult to get rid of air locks in the system and that gives exactly the symptoms I was seeing. An air lock prevents proper circulation so the engine rapidly heats up and then overheats, putting the fan on doesn't help because not much water is going through the radiator, and because their is air in the system, it doesn't pressurise properly and the water boils.
2. Running with the bonnet and nose cone off makes the situation worse as the air is not being forced through the radiator to cool the water.
Luckily the solution is fairly straightforward. In fact the system will eventually self-heal, as once the water is circulating the air gradually gets pushed to the top. So I topped her up once again, getting a least 2 litres in. On the next drive the temperature was still too high and back in the garage the 'kettle' was still boiling. But I was encouraged by the fact that it only did it for about a minute and also there was no sign of any water leaking out. So yet again I added more water until the radiator was full.
Next day took her out for a 10 mile run with the nose cone and bonnet fitted and was really pleased that she took about 2 miles to come up to temperature and then sat on the low side of normal for the remaining 8 miles. Back in the garage, no 'kettle' and no water leaks, so fingers crossed, it looks as though I have eliminated all the air locks and the system is now working perfectly. Will probably try another final fill up when she has cooled down.
Now I need to figure out how to get her hot again so I can adjust the thermostat to switch the fan on.
Although it was slightly worrying, again I have learned more about the car. I love the fact that she just doesn't behave like a normal car, and has much more personality


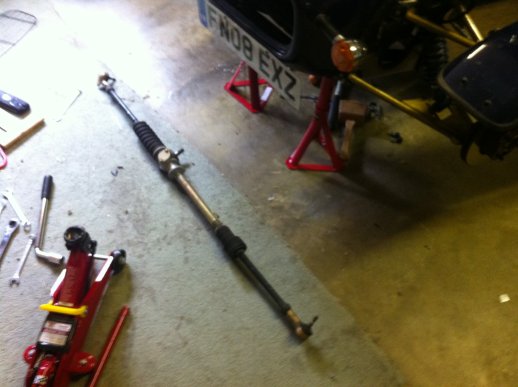 Rather pleased with myself as never tackled anything that major. Took me 1.5 hrs with nicely skinned knuckles but managed it in the end.
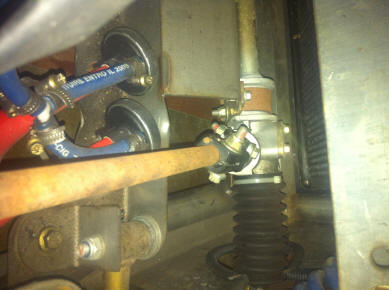 steering box itself and it all seems fine, so the problem must lie elsewhere,