This was the first repair I attempted. The previous owner had the original clutch cable snap while he was in Germany and the only replacement he could get was a handbrake cable off a German car. A lot of research and discussion with other owners came up with the fact that the clutch cables snap regularly because of the way it is attached the clutch pedal puts it under strain. In fact the original build recommendation was to cut of the eye at the end and trap the cable between some washers. The correct one to use was from a 1984 Fiat Ducato (go figure!). Amazingly a quick search on E-Bay and I found one straight away.
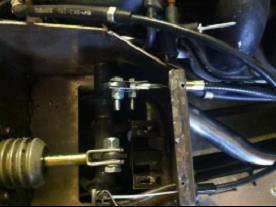
The problem with the pedal mount is as shown:
Because the cable is stressed by
not being aligned it will fairly soon snap. So the solution was to use a
couple of small pieces of stainless steel as follows:
This solved the problem at the pedal end but meant that at the engine end there was now an extra inch of cable. Easily solved with a short length of copper water pipe:
Before: After:
And after adjusting it I had a lovely smooth clutch, with the ‘bite-point’ about 1” off the floor. Perfect.
(Although I still carry a spare clutch cable in the car)
Status: Complete
SuperSpec

Saturday, 31 August 2013
The Start of the Dashboard Design
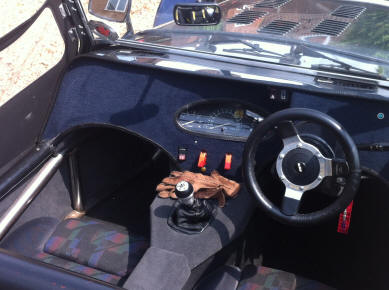
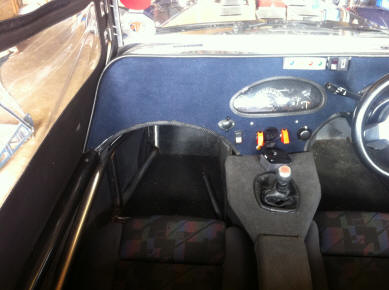
The starting point was a stainless steel, carpet covered, dashboard with a plastic steering column cover, an instrument cluster from a Ford Escort and 4 switches underneath that controlled the fog lights, the windscreen demister, the water cooling fan and the horn and the emergency ‘flashers’ switch was mounted in the middle right under the over-hang.
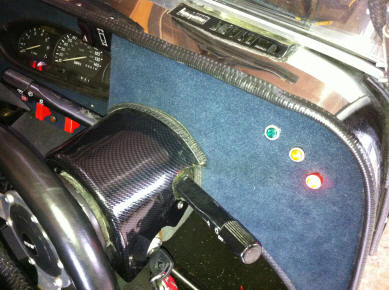
The warning lights in the instrument cluster were obscured when you were driving, so the previous owner had put repeater warning lights on the top right. The green indicator light worked but he had been unable to make the Alternator and Oil Pressure lights work.
So first task was to get those warning lights working, although having done that I found they tended to be obscured by my hand on the steering wheel.
So next I decided to move them to the middle of the dashboard, underneath the overhang so they were in shade. I also fitted a 12V power socket and a central mount for the iPhone/Satnav, between the 2 orange switches.
My full plan is to replace the whole dashboard with 3 separate detachable panels. A passenger side panel to allow access to the electrics, a matching driver side one to access the back of the brake mechanism and a centre console of individual instruments and a full set of warning lights. And the cover the tunnel and gear level cover to match.
So, a good start to what will be a major project.
Saturday, 24 August 2013
The Oil Leak
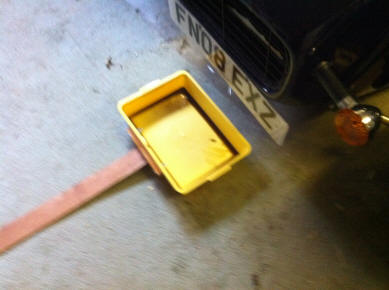
Because of the original grounding the sump is leaking about a teaspoonful a day. In the short term I have a very technical solution as shown.
I have also purchased a replacement sump off E-Bay which I hope will fit. Otherwise I need to get the original sump repaired.
Status: Need to fix the leak
I have also purchased a replacement sump off E-Bay which I hope will fit. Otherwise I need to get the original sump repaired.
Status: Need to fix the leak
Saturday, 17 August 2013
The Cosmetic Changes
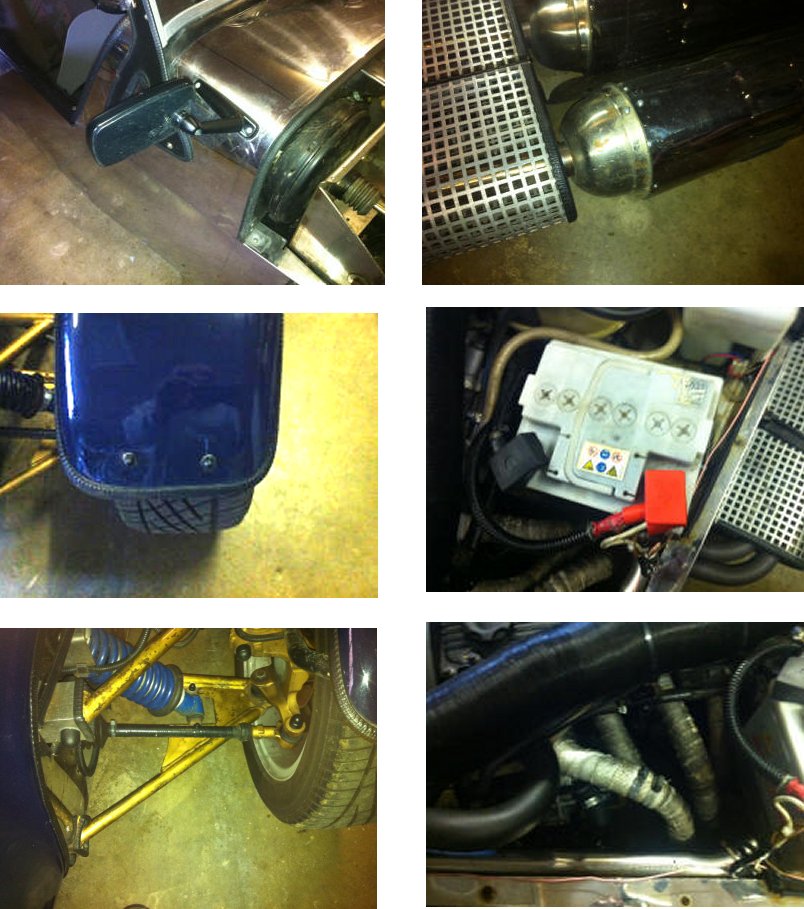
There were lots of cosmetic things that needed doing, replacing corroded bolts, fitting nut covers, painting the roll bars and the suspension wishbones, greasing the rear suspension to stop it squeaking, remaking the exhaust pipe insulation, putting terminal covers on the battery to stop it shorting out on the bonnet, securing the exhaust heat shield, repositioning the wing mirrors and various tightening/readjusting some items. These were all easily done. Here
are some pictures:
And I couldn't resist this sticker for the back:
And I couldn't resist this sticker for the back:
Subscribe to:
Comments (Atom)


